Building a Reliable Fire in Damp Conditions

The air is thick with moisture, the scent of wet cedar and damp pine needles heavy in the breeze. A thin mist clings to the forest floor, turning every twig into a soggy, heavy weight. You reach for your matches, but you know the drill—the wood you see on the ground is useless right now. This guide covers the specific techniques, materials, and structural methods required to get a fire going when the environment is working against you. It's the difference between a cold, miserable night and a warm, dry camp.
Building a fire in damp conditions requires a shift in strategy from standard fire-building. You can't rely on the easy, dry kindling you'd find on a sunny afternoon. Instead, you have to look deeper into the environment and prepare your fuel with more precision.
What is the best way to find dry fuel in wet weather?
The best way to find dry fuel in wet weather is to look for deadwood that is still attached to a standing tree or sheltered under dense canopy.
Ground-level wood is almost always a lost cause when it's raining. It's soaked through. To find something usable, look up. Dead branches that haven't fallen to the forest floor are often much drier because they haven't been sitting in the leaf litter. These are often called "dead standing" wood. If you can find a dead tree—not a living one, obviously—the lower branches might still be relatively dry.
Another trick is to look for the "inner" wood. You might need to split a larger branch or even a piece of fallen wood to reach the dry center. That center part is your gold mine. If you have a small hatchet or a folding saw, use it to shave away the wet outer bark to reveal the dry core. It's a bit more work, but it pays off. Even a piece of old, dead hardwood that's slightly damp on the outside will have a dry heart if you split it open.
If you're lucky enough to be near a dense thicket of brush, look for the very thin, spindly twigs. These dry out much faster than larger branches. They are also easier to snap. If a twig bends instead of snaps, it's too wet to use for your initial flame.
The hierarchy of fuel types
When you're dealing with moisture, you need to be organized. Don't just throw everything into a pile and hope for the best. You need a hierarchy of fuel that progresses from the smallest, most flammable material to the larger logs.
- Tinder: The tiny stuff that catches a spark or a flame immediately. Think cotton balls soaked in petroleum jelly, or even shaved-down dry wood from the center of a branch.
- Kindling: Small sticks, roughly the thickness of a pencil. These catch the flame from your tinder and provide enough heat to ignite the larger stuff.
- Fuel Wood: The larger branches and logs that keep the fire going for hours. These need to be substantial enough to hold heat but small enough to be ignited by your kindling.
If you find yourself in a situation where you're constantly checking the weather, you might want to look into fire starting methods to understand the science of heat transfer. It helps to know exactly what you're trying to achieve with each stage of the build.
How do you build a fire with damp wood?
You build a fire with damp wood by using a "platform" method to keep your fuel off the wet ground and by focusing on a high-heat concentrated flame.
The biggest mistake people make is building a fire directly on the wet ground. The moisture from the earth will suck the heat right out of your embers. Instead, build a platform first. Use a few flat stones or a layer of thick, bark-heavy logs to create a base. This keeps your fire elevated and insulated from the damp soil. It's a simple step, but it makes a massive difference in how long your fire stays lit.
The "Tepee" method is often the best choice here. By stacking your kindling in a cone shape around your tinder, you create a chimney effect. This pulls air up through the center, concentrating the heat. When the wood is damp, you need that concentrated heat to drive the moisture out of the wood before it can actually burn. If the heat is too dispersed, the dampness will just extinguish your flame.
Think about the structure of your fire. A tight tepee provides a lot of heat in a small area, which is exactly what you need to dry out those damp twigs. Once your small kindling is burning strong, you can slowly add larger pieces of wood. Don't rush it. If you add a big, wet log too soon, you'll smother the tiny flame you've worked so hard to build.
| Method | Best Use Case | Pros | Cons |
|---|---|---|---|
| Tepee | Initial ignition | Concentrates heat upward; great for drying wood. | Can be unstable if not built carefully. |
| Log Cabin | Long-term heat | Very stable; provides a steady, even burn. | Harder to start with damp materials. |
| Windy/Rainy weather | Deflects wind and rain away from the flame. | Requires more careful fuel placement. |
If you're a regular hiker, you might already be thinking about habits that improve your outdoor experience. Bringing a reliable fire-starting kit—like a reliable ferrocerium rod or a high-quality lighter—is one of those habits. It's much easier to work with a dependable heat source when the wood is being difficult.
What gear helps when it's raining?
Reliable gear like a high-quality knife, a waterproof fire starter, and a durable tarp can make or break your ability to stay dry and warm.
You can't rely on a cheap BIC lighter if you're working in a downpour. The wind can blow it out, or the mechanism can get damp. I always carry a REI-approved waterproof fire starter or a few pieces of fatwood. Fatwood is a resin-rich pine wood that is almost impossible to drown. It burns hot and long, even in a drizzle. It's a lifesaver when everything else is a soggy mess.
A good knife is also non-negotiable. You'll need to shave wood to get to the dry parts. A robust tool like a Morakniv or a Leatherman tool allows you to create fine shavings (often called "feather sticks"). These shavings have a high surface area, which means they catch fire much easier than a solid stick. It's a tedious process, but it's the only way to get a flame going when the environment is saturated.
Lastly, don't forget your shelter. If you're trying to build a fire while getting soaked, you're going to struggle. A lightweight tarp or a good rain shell like a Patagonia Torrentshell can keep you dry while you're working. A dry person is a much more effective fire builder than a shivering, wet one.
Sometimes, the weather is just too much. If you've been tracking the sky and noticed the signs of a real storm coming, you might have been looking at cloud patterns that suggested a heavy downpour. In those cases, the best move is often to find shelter first and build your fire in a protected area, rather than out in the open.
The key is patience. You can't rush a fire in the woods, especially when the wood is damp. You have to nurture that tiny spark, protect it from the wind, and slowly build the heat. It's a slow process of turning moisture into heat, one small piece of kindling at a time.
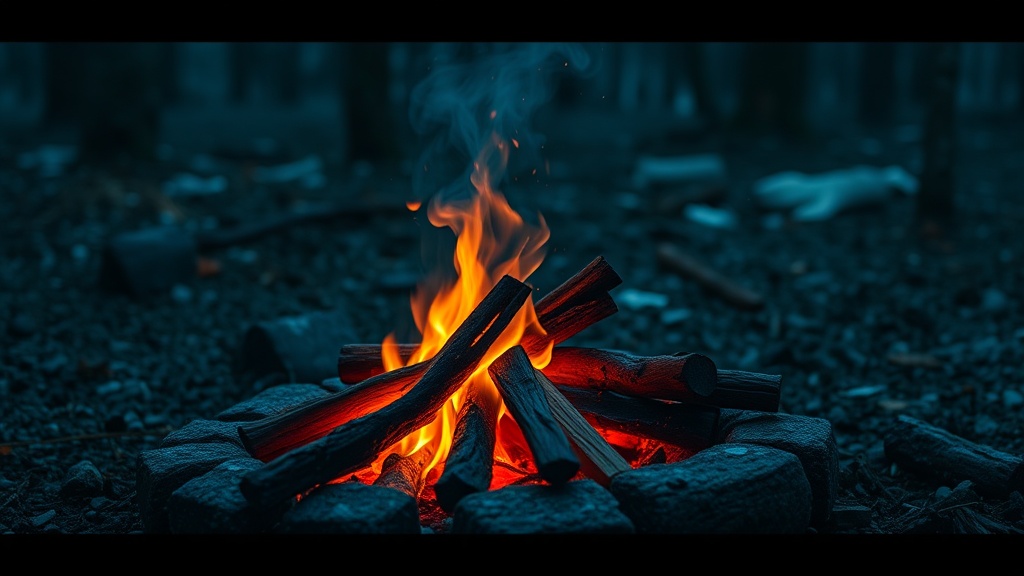
When you're sitting by that fire later, watching the embers glow against the dark, the effort will feel worth it. There's nothing quite like the satisfaction of a successful fire when the world around you is soaked and cold. Just keep your tools sharp, your fuel-finding techniques practiced, and your expectations realistic. It's all about the preparation.
Steps
- 1
Find Dry Fuel Under Cover
- 2
Prepare Your Tinder Nest
- 3
Use Dry Inner Bark or Resins
- 4
Build a Platform Above the Ground